
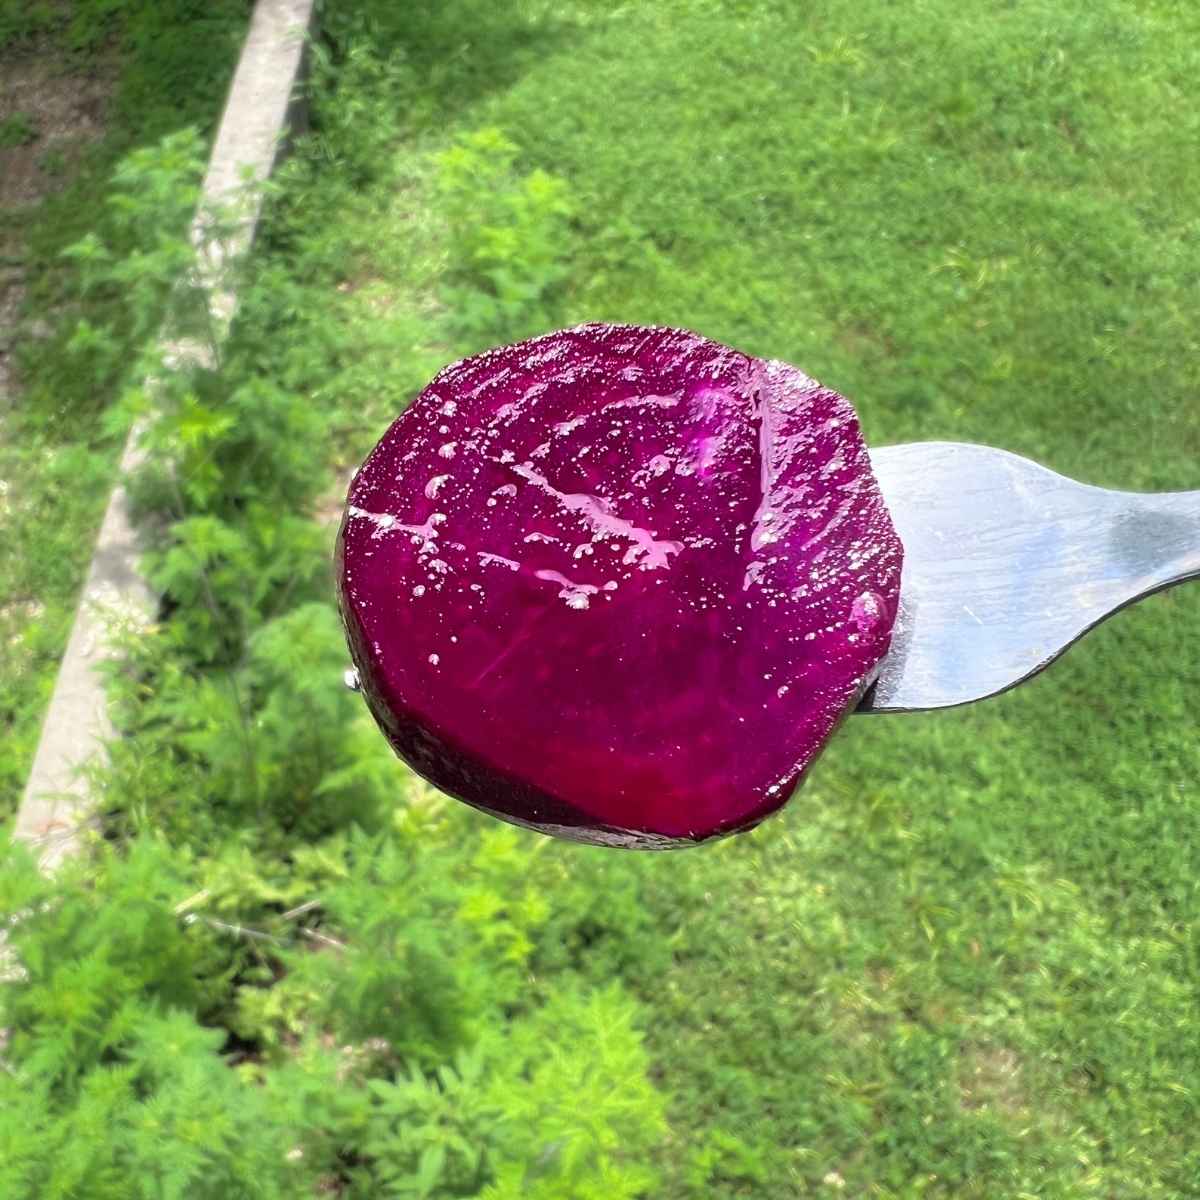
Why grow beets if you don’t eat a ton of them? I found my why. I have a jar of fermenting Cylindra beets bubbling away on my counter. I took the video up out on the porch so you could see the progress — that’s my chickens in the background, hoping I’ll drop them a treat or two, as usual.
Here’s the thing nobody tells you: you don’t need a crock, a canner, or a free Saturday to preserve beets. I did one jar. Two of us will eat it. No big production needed, or really wanted, on our little homestead. (PS — you don’t need a homestead to do this. Small spaces work great too!)
This is the story of how I went from “why should I even grow beets?” to a bubbling jar on the counter — the variety I grew, how I fermented them (yes, I sliced my finger), and why one jar is exactly enough.
Jump to RecipeWhy I Grow Cylindra Beets
Most beets are round. Cylindra isn’t. It grows long and cylindrical, more like a fat carrot than a globe, and that’s exactly why I plant it.

Here’s the reason, and it sounds boring until you’ve stood at the counter with a mandolin: a round beet gives you slices that go tiny, then wide in the middle, then tiny again. A Cylindra gives you slice after slice at about the same size, straight down the whole root. When you’re packing them into a jar and pushing them under a weight, even slices sit flat, pack tight, and ferment evenly — no fat chunks poking up out of the brine, no thin slivers going to mush. And to me, they work out to be the perfect size for my single-serving Kilner jar.
So I don’t grow Cylindra because it’s prettier or sweeter than the rest (though I really do like its flavor over some others). I grow it because it’s so easy to peel and slice. It’s a beet I plant with the ferment already in mind.
Growing Cylindra Beets in Kentucky: What I Learned
I’ve grown Cylindra beets in the ground, in a raised bed, and this fall I’m trying them in a fabric grow pot. They’re a fantastic crop for just about any garden size — porch growers, raised-bed gardeners, everyone should try their hand at beets.
Here in Kentucky I’m lucky enough to grow them twice a year. And growing for just the two of us, I don’t need to dedicate a huge plot to it.
The Cylindra beets did very well. A few things I learned along the way:
- My particular soil needed amending with bone meal.
- Radishes work well as row markers while you’re waiting for the beets to come up.
- A beet seed is not one seed. You’ll need to thin your seedlings as they grow.
If you want to know exactly when to plant beets in Kentucky, I have a dedicated post here →(when-to-plant-beets-kentucky)
Fermenting Cylindra Beets — My Jar, My Way


I pulled the beets, rinsed the dirt off, and started peeling. Some people say you don’t have to peel beets for this, but I wanted to be on the safe side, so I peeled. This is where Cylindra earns its keep again: the skins came off easy, no wrestling, and the long straight shape meant I could peel them quickly — and run them down the mandolin without them rolling all over the place.

Which brings me to the ouch. I’ve got a KitchenAid mandolin (they don’t make this exact one anymore, but any mandolin with a guard will do the same job), and it turns a pile of beets into a pile of perfect even coins in about a minute.
It also turned the tip of my finger into part of the batch when I took a peek out the window to see where my grandson was playing. I thought in my mind to stop moving my hand, but my hand did not get the message. That bad boy is sharp! Ouch! Use the guard. I know it’s slower. Use it anyway. Learn from my finger.
Once they were sliced, here’s what I did — and I’ll say up front, this is what worked for me, not a rule for everybody. The recipe came out of my fermenting book.
- Weigh the beets and measured out 2% of their weight in kosher salt.
- Rub that salt right into the slices instead of dissolving it in water first.
- Packed them into my Kilner flip top jar and pressed them down under the weight. (Mine’s an older Kilner they don’t sell anymore — any clamp-top jar with a rubber gasket seal, in about a one-quart size, works just the same.)
- I topped it off with filtered water until everything was covered.

They fit perfectly under the weight — no floaters, nothing poking up into the air where fuzz likes to start. Then it went into a dark, warm corner of my kitchen counter.
The one thing I do every day: crack the jar slightly to let it breathe. My Kilner seals tight, so the gas from all that bubbling has to go somewhere. Once a day I crack it, let it burp, and close it back up. That’s the whole job. It’s satisfying to hear that little hiss of air escaping.
A few notes on keeping them
Once your beets taste the way you want, move the jar to the fridge. That slows everything way down so they don’t keep getting more sour or go soft on you. Mine keep for a good while this way — we usually eat them long before that’s a question.
A couple of things I stay on top of while they’re fermenting: keep the beets under the liquid (anything poking up into the air is where fuzz likes to start), and always use a clean fork to fish them out — no double-dipping from the dinner plate.
And trust your senses. A good ferment smells sour and earthy, maybe a little fizzy. Toss the jar — don’t second-guess it — if you ever see fuzzy or colored mold, catch a truly off smell (rotten, not pleasantly sour), or find the beets gone slimy instead of just a little soft. Better to lose one jar than risk it.
Fermented Cylindra Beets for Two Recipe

Fermented Cylindra Beets For Two
Ingredients
Equipment
Method
- Weigh, clean and peel beets
- Slice beets into at least 1/4 slices
- Place sliced beets into mixing bowl, add salt, and massage salt into beets for a minute or two
- Pack sliced beets into flip top or fermenting jar and push them down with the handle of a wooden spoon, packing them in tightly
- Pour enough filtered water over beets to make sure they are covered
- Place fermenting weight or (i have used cabbage leaves) over beets and make sure beets are not above liquid line
- Ferment for 7-21 days, to you taste. Crack the flip top jar just enough to let gas escape daily or follow your fermenting jar instructions
- After fermenting refrigerate and enjoy your beets.
Notes
The Payoff — Fermented Cylindra Beets for Two
I tasted these along the way, and here’s how it went in my kitchen:
- Day 7 — still salty, still kind of hard.
- Week two — less salty, getting closer.
- Around day 14 — the fermenting magic finally happened.

At that point they’d gained a nice tang. They’d softened slightly but still had a good little crunch. Cylindra beets have a slight earthy tone — not overwhelming — that plays nicely against the tang, and the salty flavor had mellowed right down.
Every kitchen is a little different, and a warmer room ferments faster, so taste as you go rather than watching the calendar.
These fermented Cylindra beets are amazing right out of the jar or in your favorite dish. This is why we grow our own food — they taste like something a store-bought jar just can’t touch, and that freshness is a big part of why we love this homesteading life.

Liked this blog post?
This is the kind of thing I share with the Bloom & Peck family — small-batch, made-for-two recipes and honest notes from our little Kentucky homestead, straight to your inbox. Come join us below → (family signup) (Really — no spam. I have way too much to do for that!)